Support
Overview
- What is Distribute to Artboards?
-
This extension distributes objects in a document to artboards.
- How do I use Distribute to Artboards?
-
The easiest way to use it is to place the object you want to distribute in the document, select the mode and press "Distribute to Artboard."
- What are the benefits of using Distribute to Artboards?
-
It is mainly intended to be used in combination with "Export for Screens...". By using "Distribute to Artboards", you can complete the process of creating individual files for each artboard in two steps.
- Distribute to Artboard Panel
-
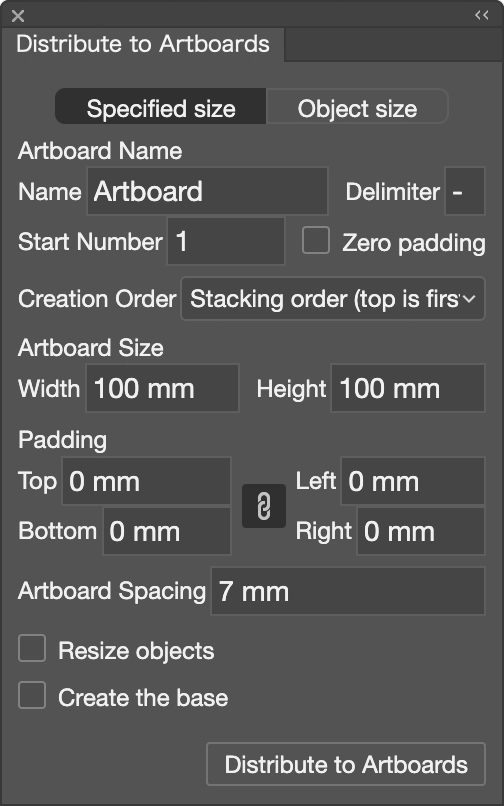
Mode Switch: Switch between specified size and object size mode.
Artboard Name
Name: Specify a common name for all the artboards.
Delimiter: Specify the delimiter.If you do not enter anything, no delimiter will be used.
Start Number: Adds sequential numbers to the end of the artboard name starting from the specified number.
Zero padding: When adding numbers, pad with zeros to the same number of digits as the final number.
Creation Orde: You can decide the order in which you create artboards based on object overlap and placement.
Artboard Size: Specifies the size of the artboard to be created. Used in size selection mode.
Padding: Specifies the inner padding of the artboard. Used when resizing objects in Custom Size mode and Object Size mode.
Resize Object: When in specified size mode, resize and position the object.
Create Base: Creates a background base over the entire artboard. The size is always the entire artboard, regardless of whether there is a margin or not.
Distribute to Artboards button: Run "Distribute to Artboards".
- I can't find Distribute to Artboards.
-
Open it from the menu "Window > Extensions > Distribute to Artboards".
Specified size Mode
- What is the Specified size mode?
-
This mode creates all artboards at the specified size. In this mode, the Resize Objects option is available.
Specified size mode
- Are there any restrictions on the artboard size?★原稿も修正★
-
You cannot specify a size that exceeds the canvas size.
- When you choose to resize an object, how does it resize?
-
When the padding are 0, the object will be resized to touch the top/bottom or left/right edges of the artboard.
Resize example
- When you choose to resize an object, do you want the stroke weight to scale as you resize it?
-
Also resize the stroke weight.
- When "Resize objects" is not selected, objects will overflow the artboard.
-
This is the default behavior. Objects will not be resized, so if an object is larger than the artboard it was created on, it will overflow.
Example of misfit objects on artboard
- Padding are not reflected when "Resize Objects" is not selected.
-
When using specified size mode and not using Resize Object, padding are ignored.
- Is it possible to resize only the objects that extend beyond the artboard?
-
No, you can't. Please resize it beforehand.
- When should you use the Specified size mode?
-
The Specified size mode is useful when creating fixed sizes, such as UI parts for websites. If the object you created has already been adjusted and can be used as is, do not use the "Resize object" option.
Object Size Mode
- What is the object size mode?
-
This mode determines the size of the artboard according to the size of the object without resizing the object.
- When should you use object size mode?
-
Object size mode is suitable for exporting objects of various sizes, such as illustrations, at their original size.
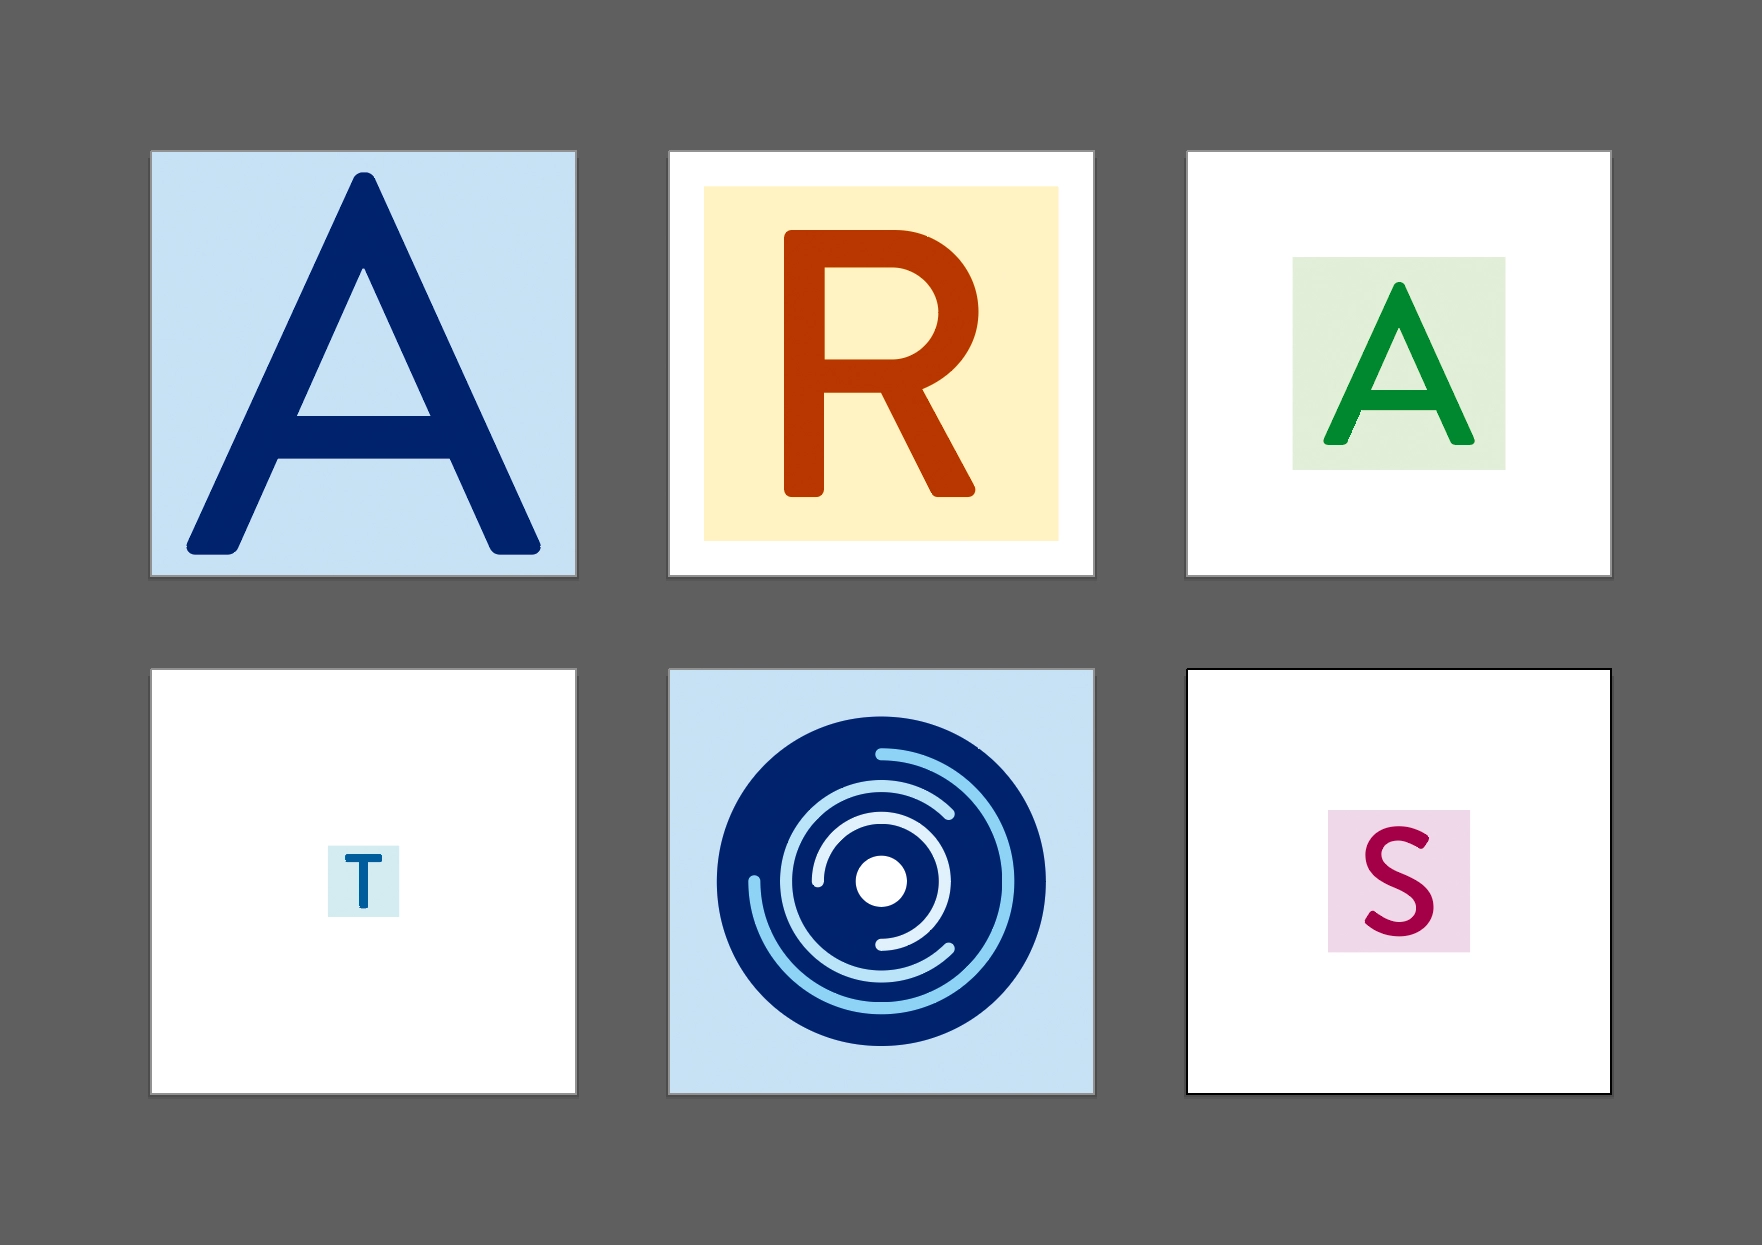
Creating artboards and placing objects
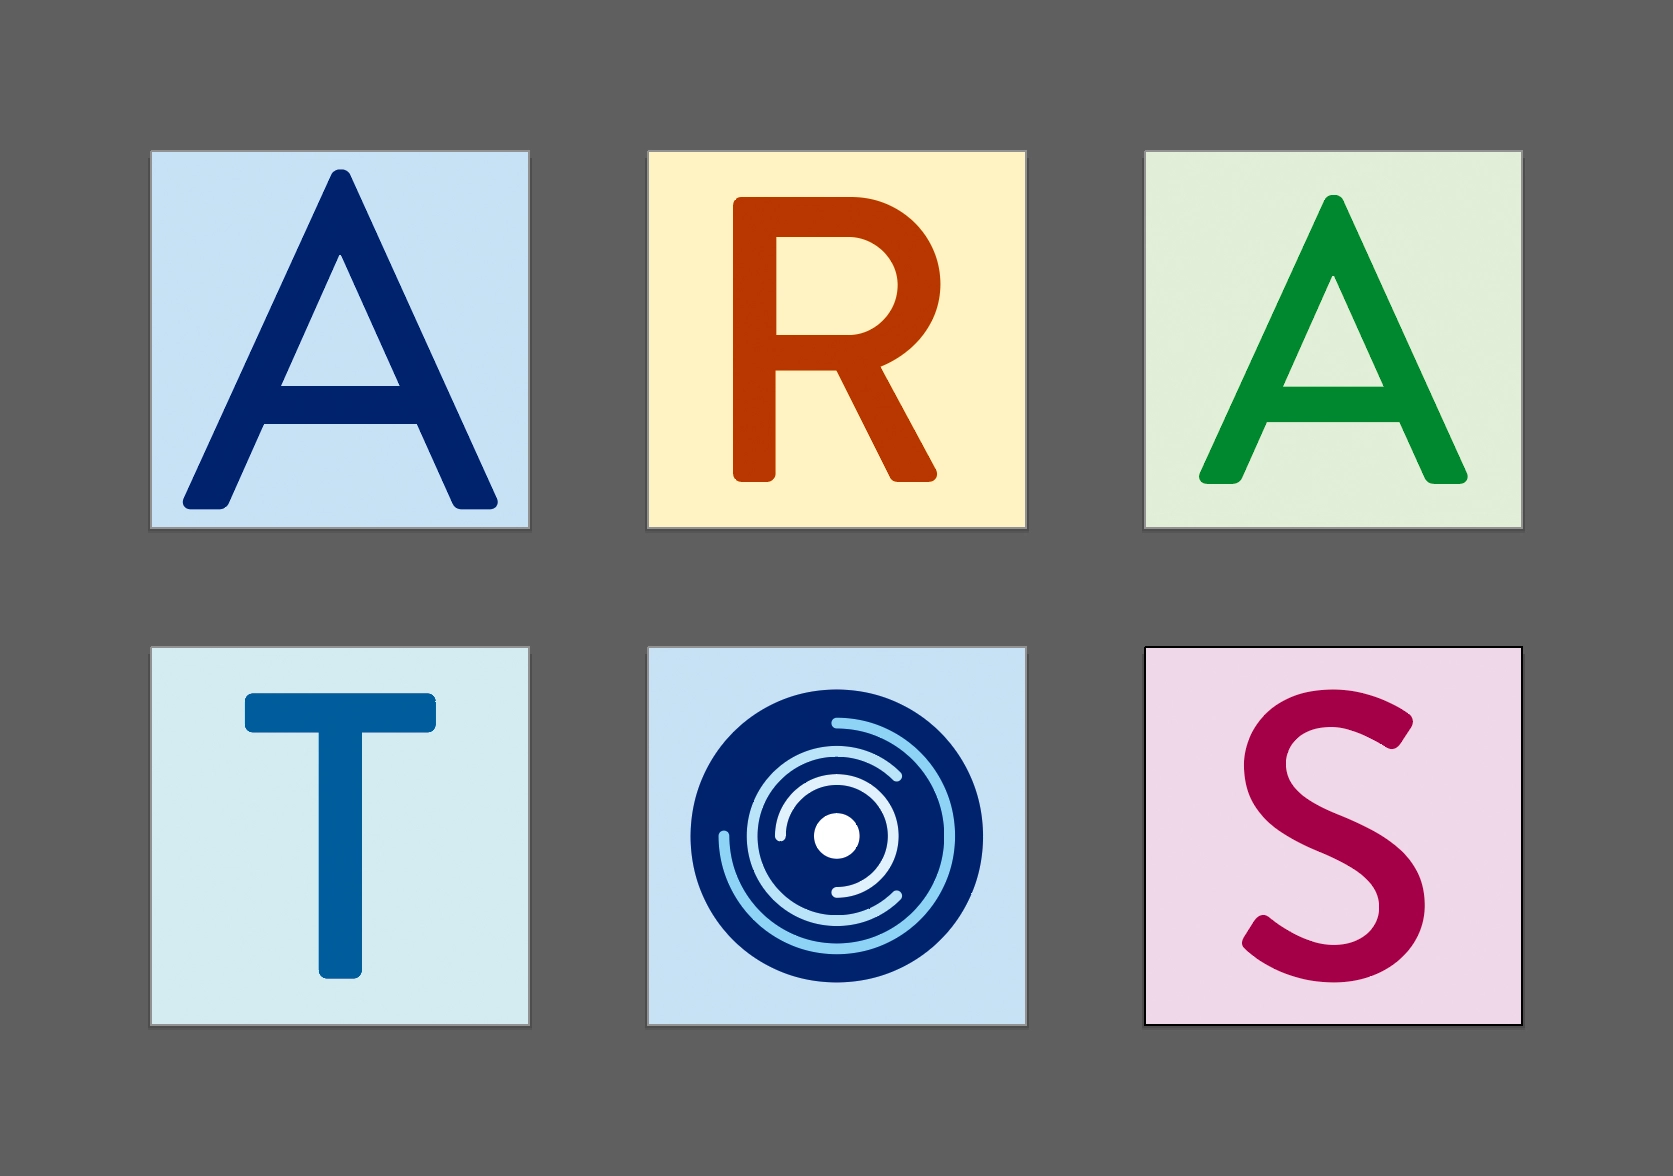
- Can I specify the order in which they are placed on the artboard?
-
You can choose from three options: the stacking order of objects, and the left-right or top-bottom order of object positions.
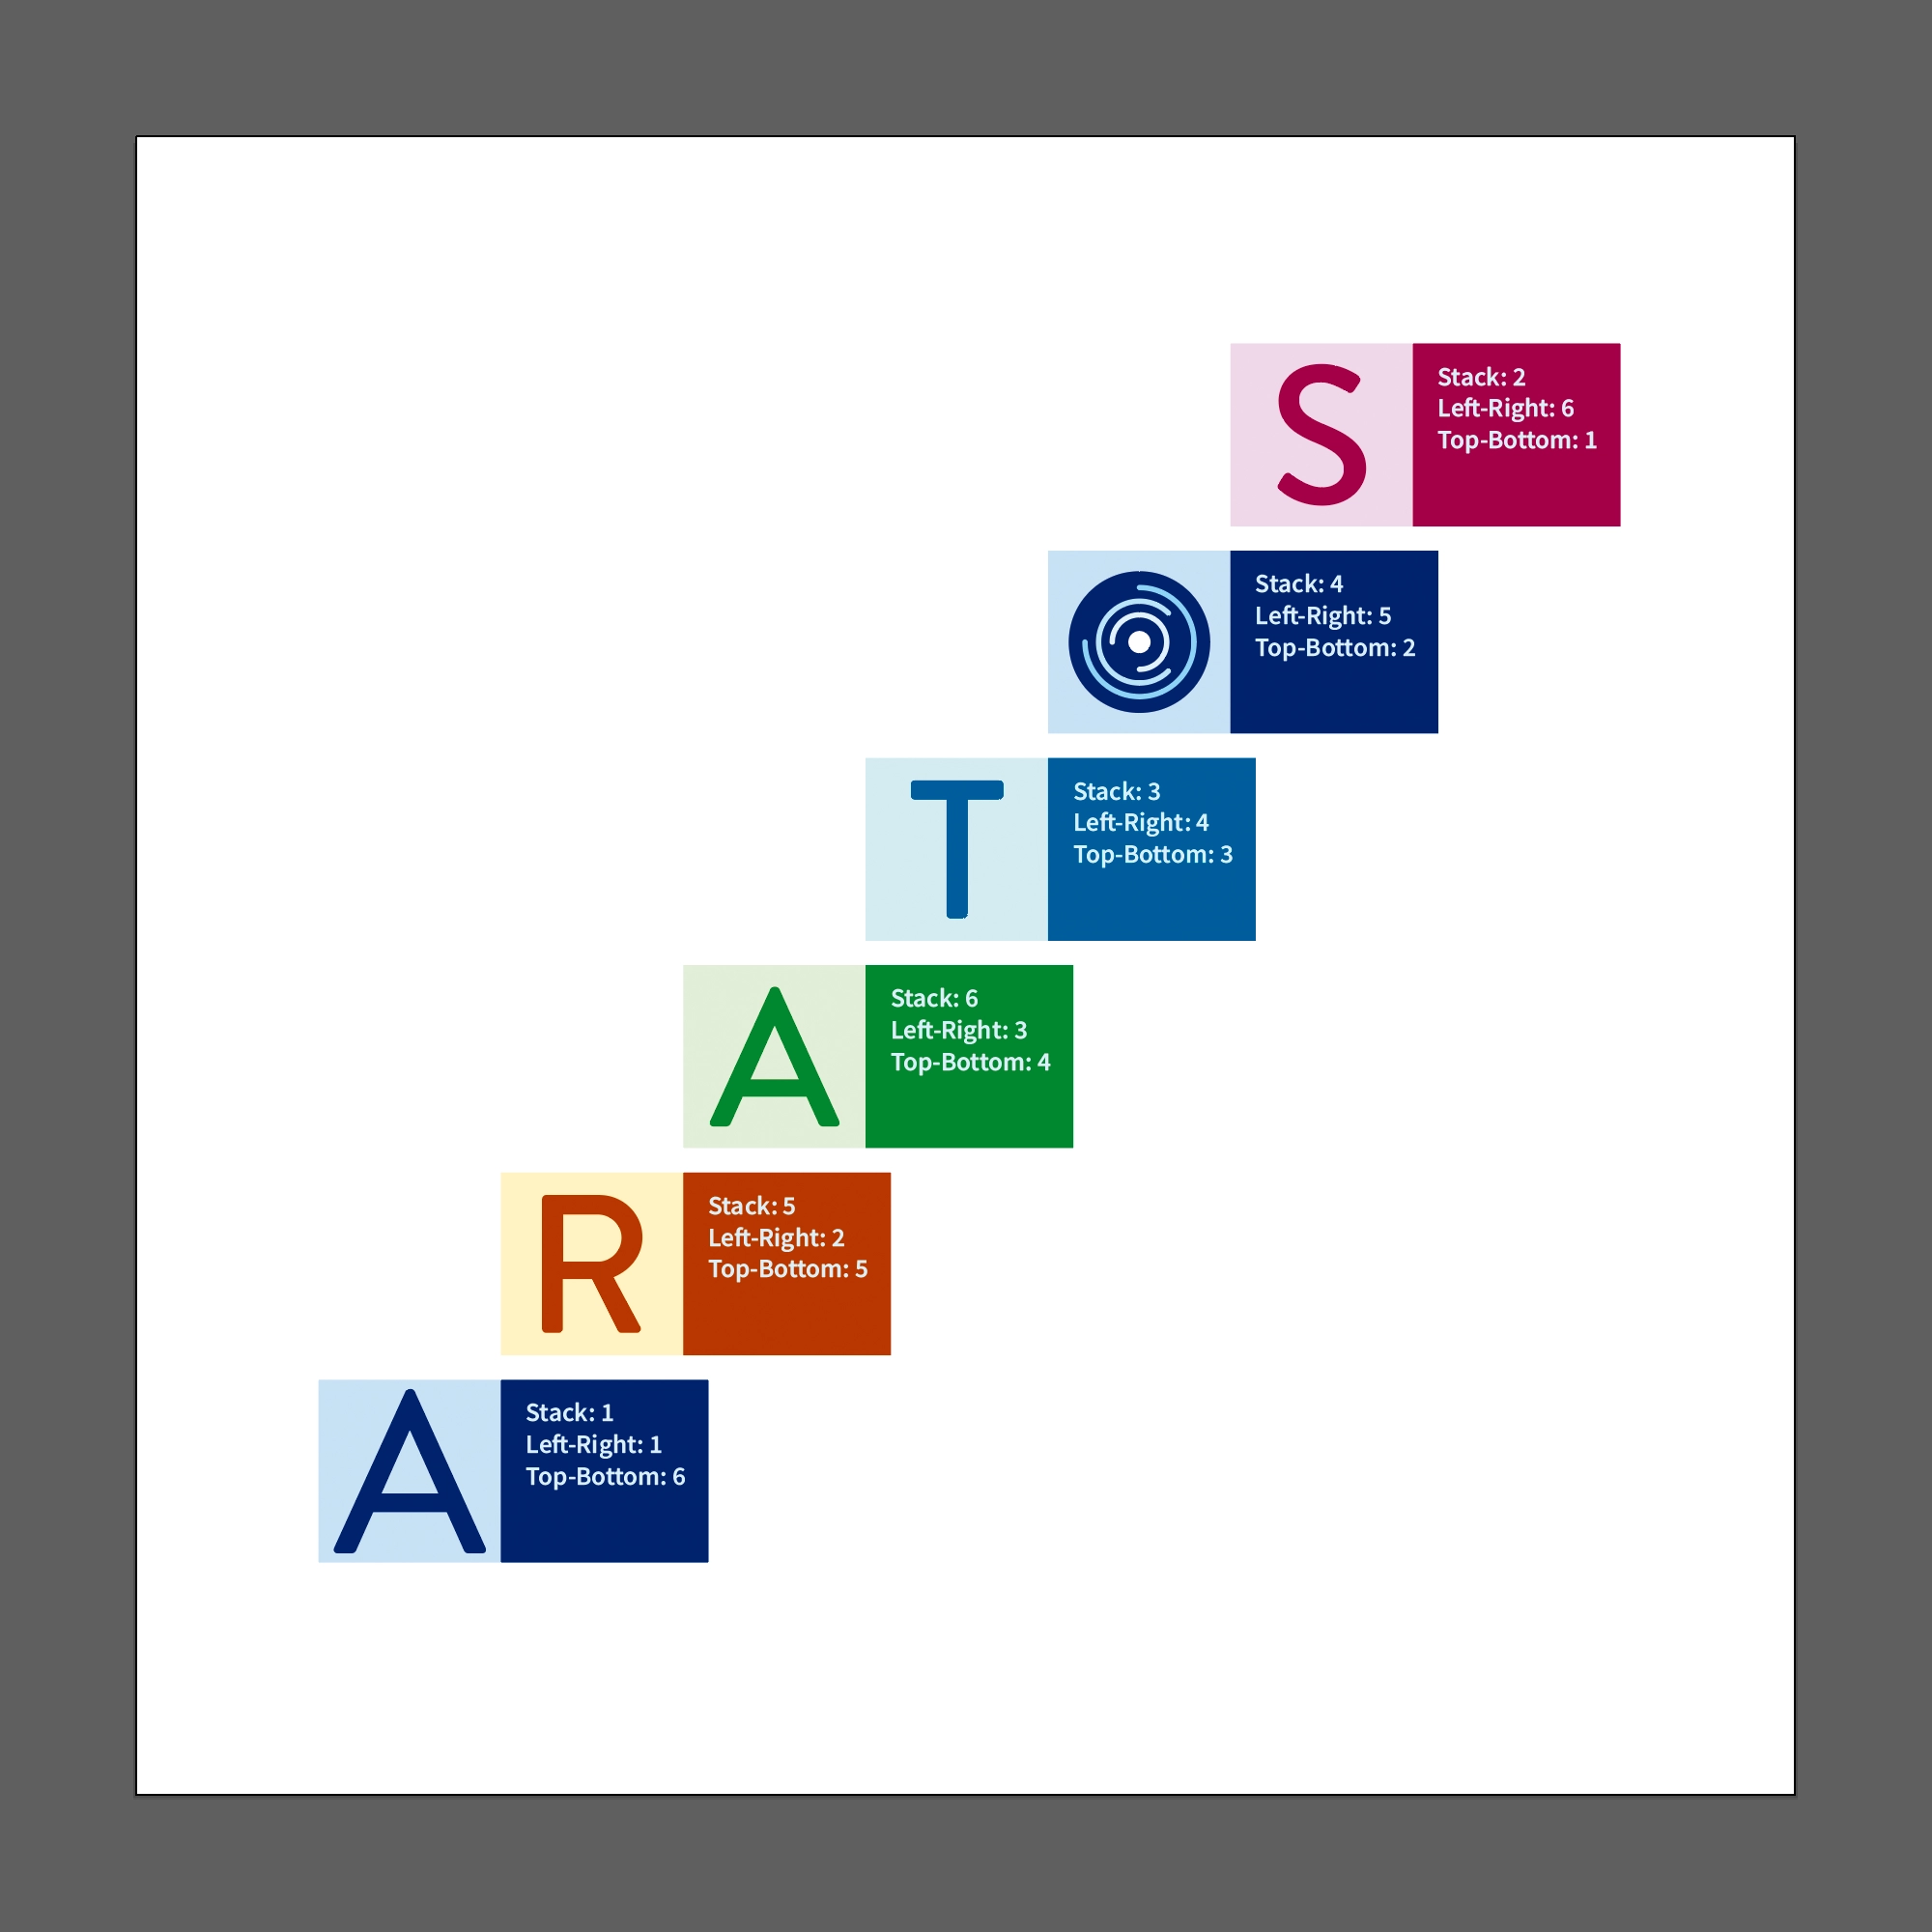
Before creation
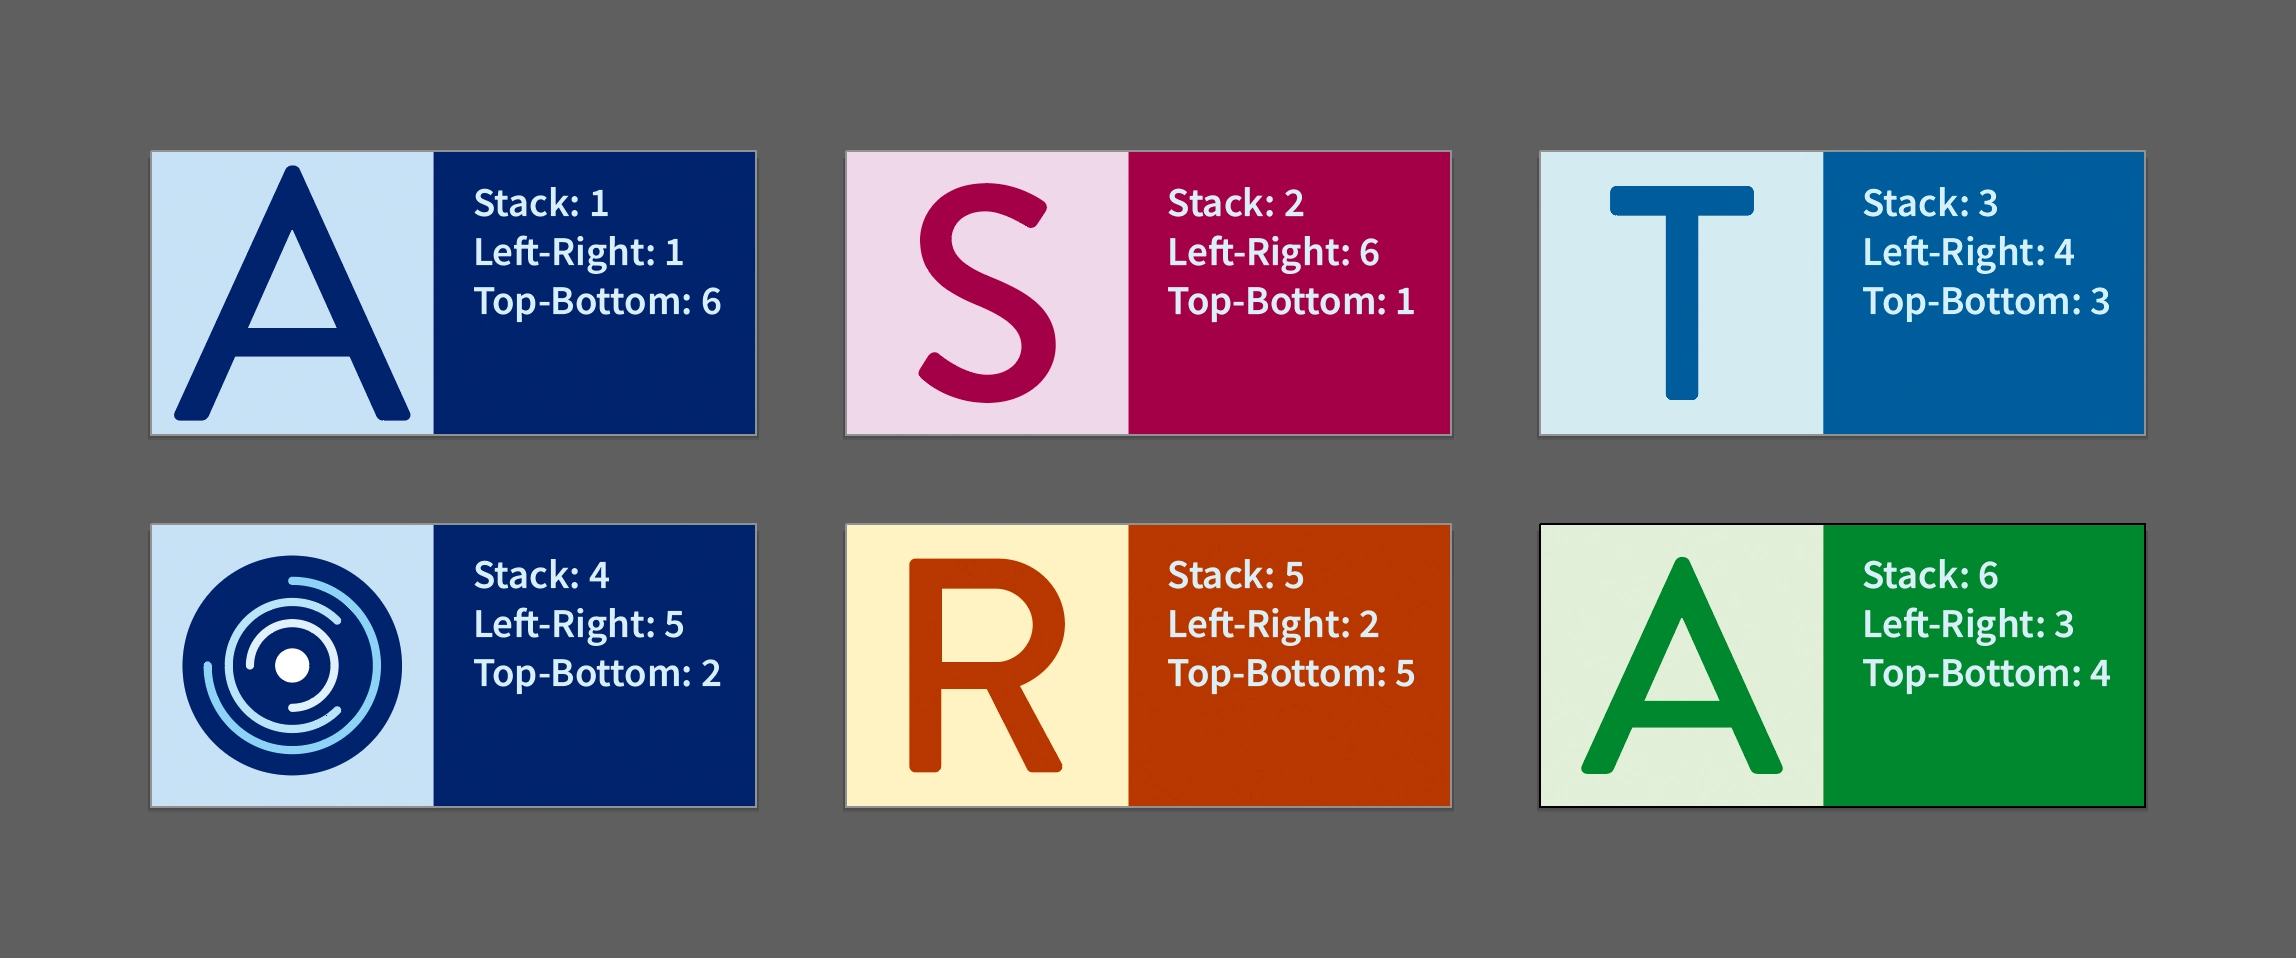
Stacking order (top is first) is created based on the overlap of objects. The topmost object is placed in order.
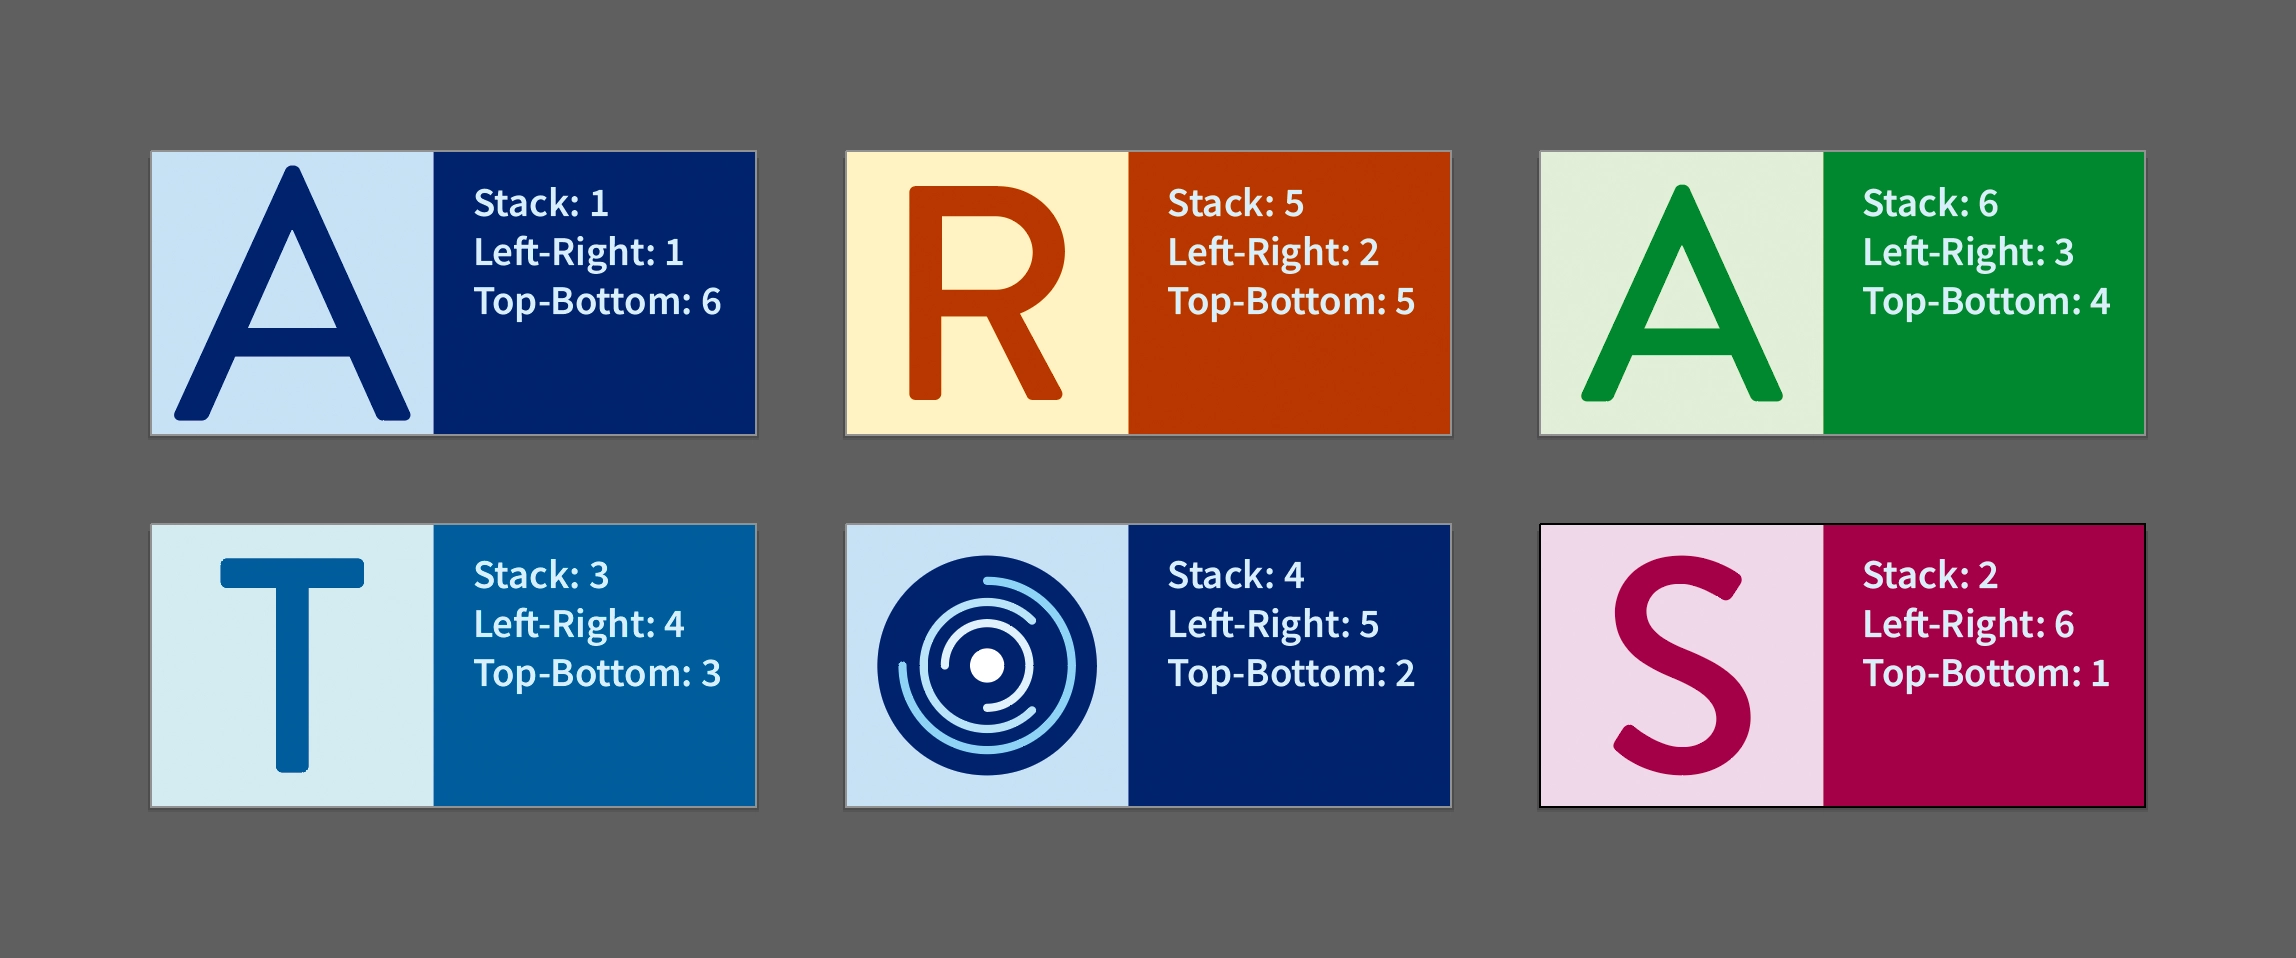
Left-right order (left first) is created based on the left-right position of the editing screen. Objects are placed in order starting from the left.
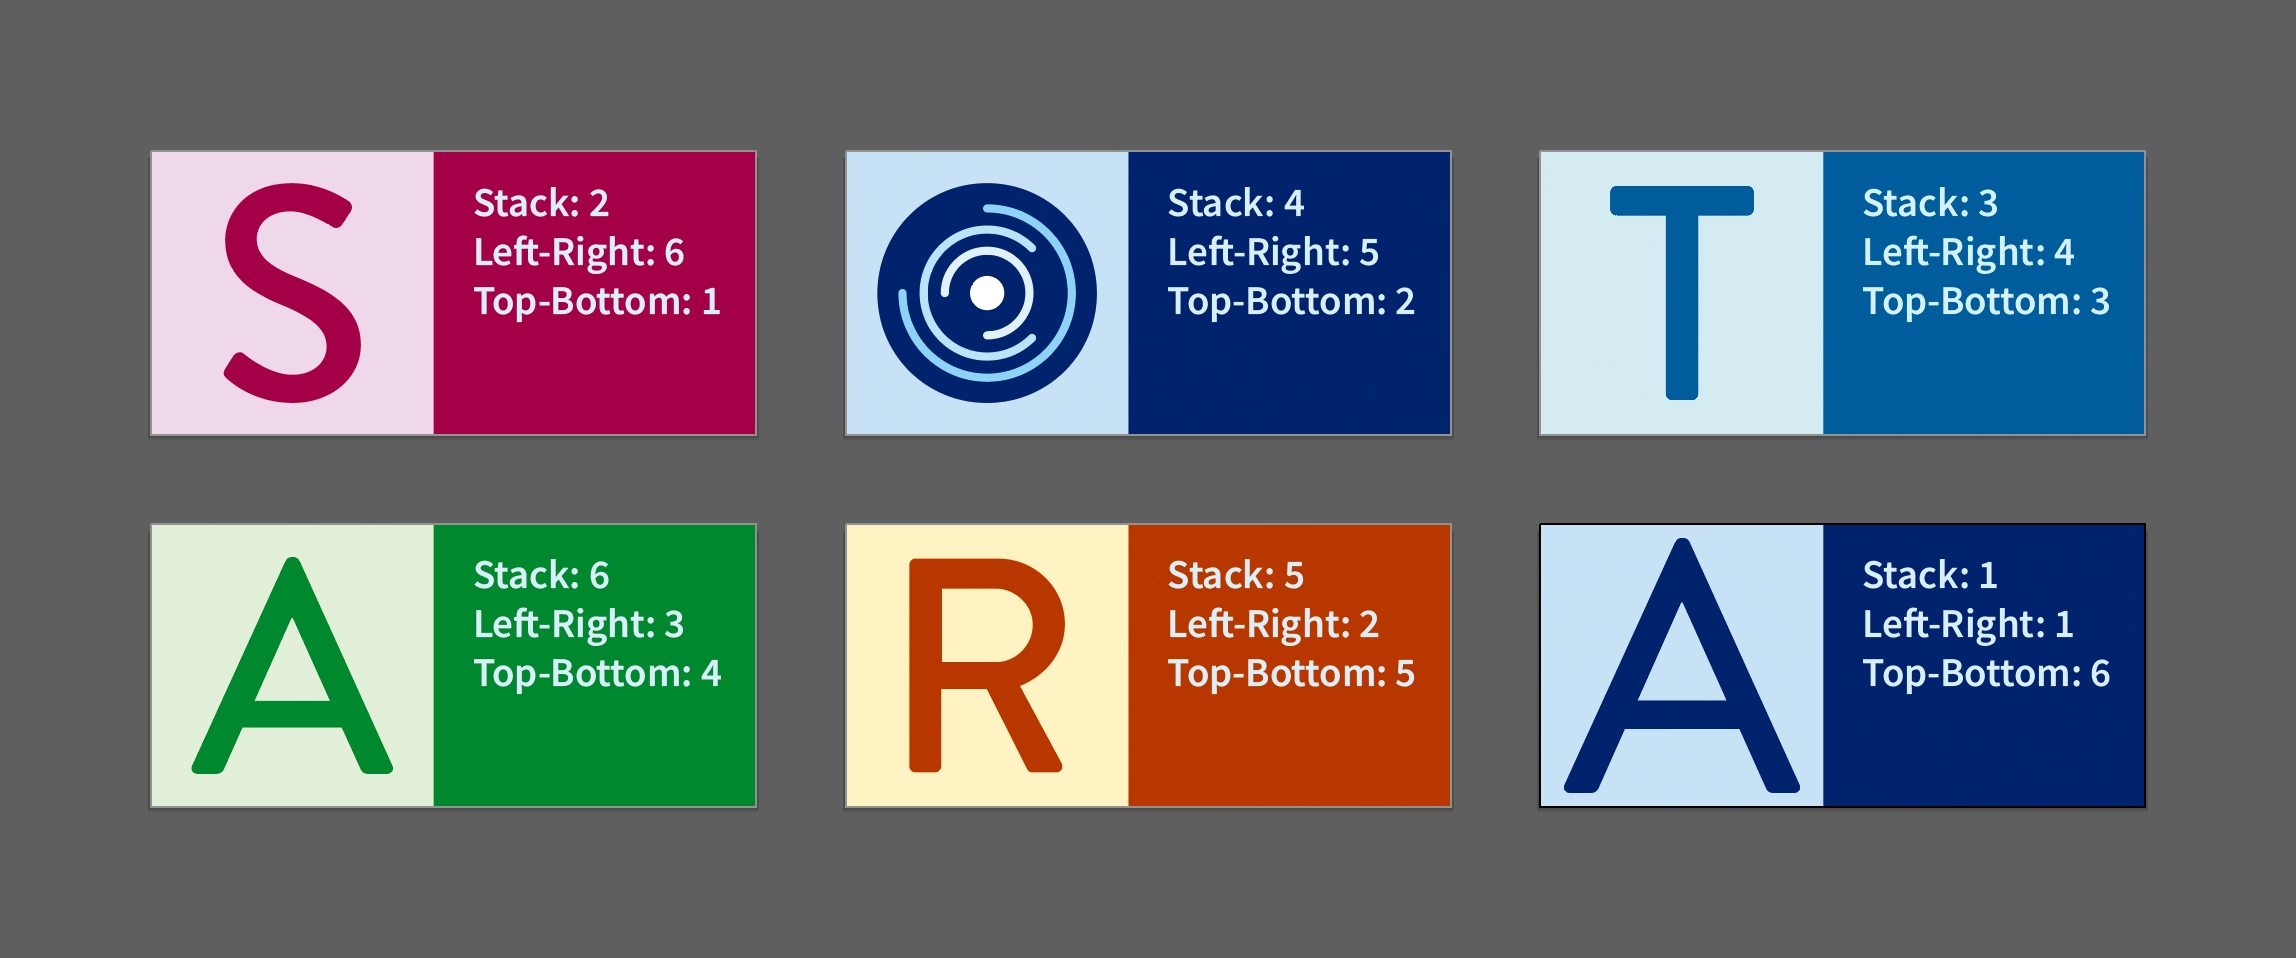
Top-bottom order (top first) is created based on the top-bottom position of the editing screen. Objects are placed in order from the top.
- Where will the object be placed on the artboard?
-
The object will be placed in the center of the artboard.
- Can I position an object anywhere on the artboard?
-
No. However, you can use the padding to control the position to some extent.
- Can I create one or more blank artboards?
-
No. Place temporary objects in the order you want them to be blank, then delete them after distributing them.
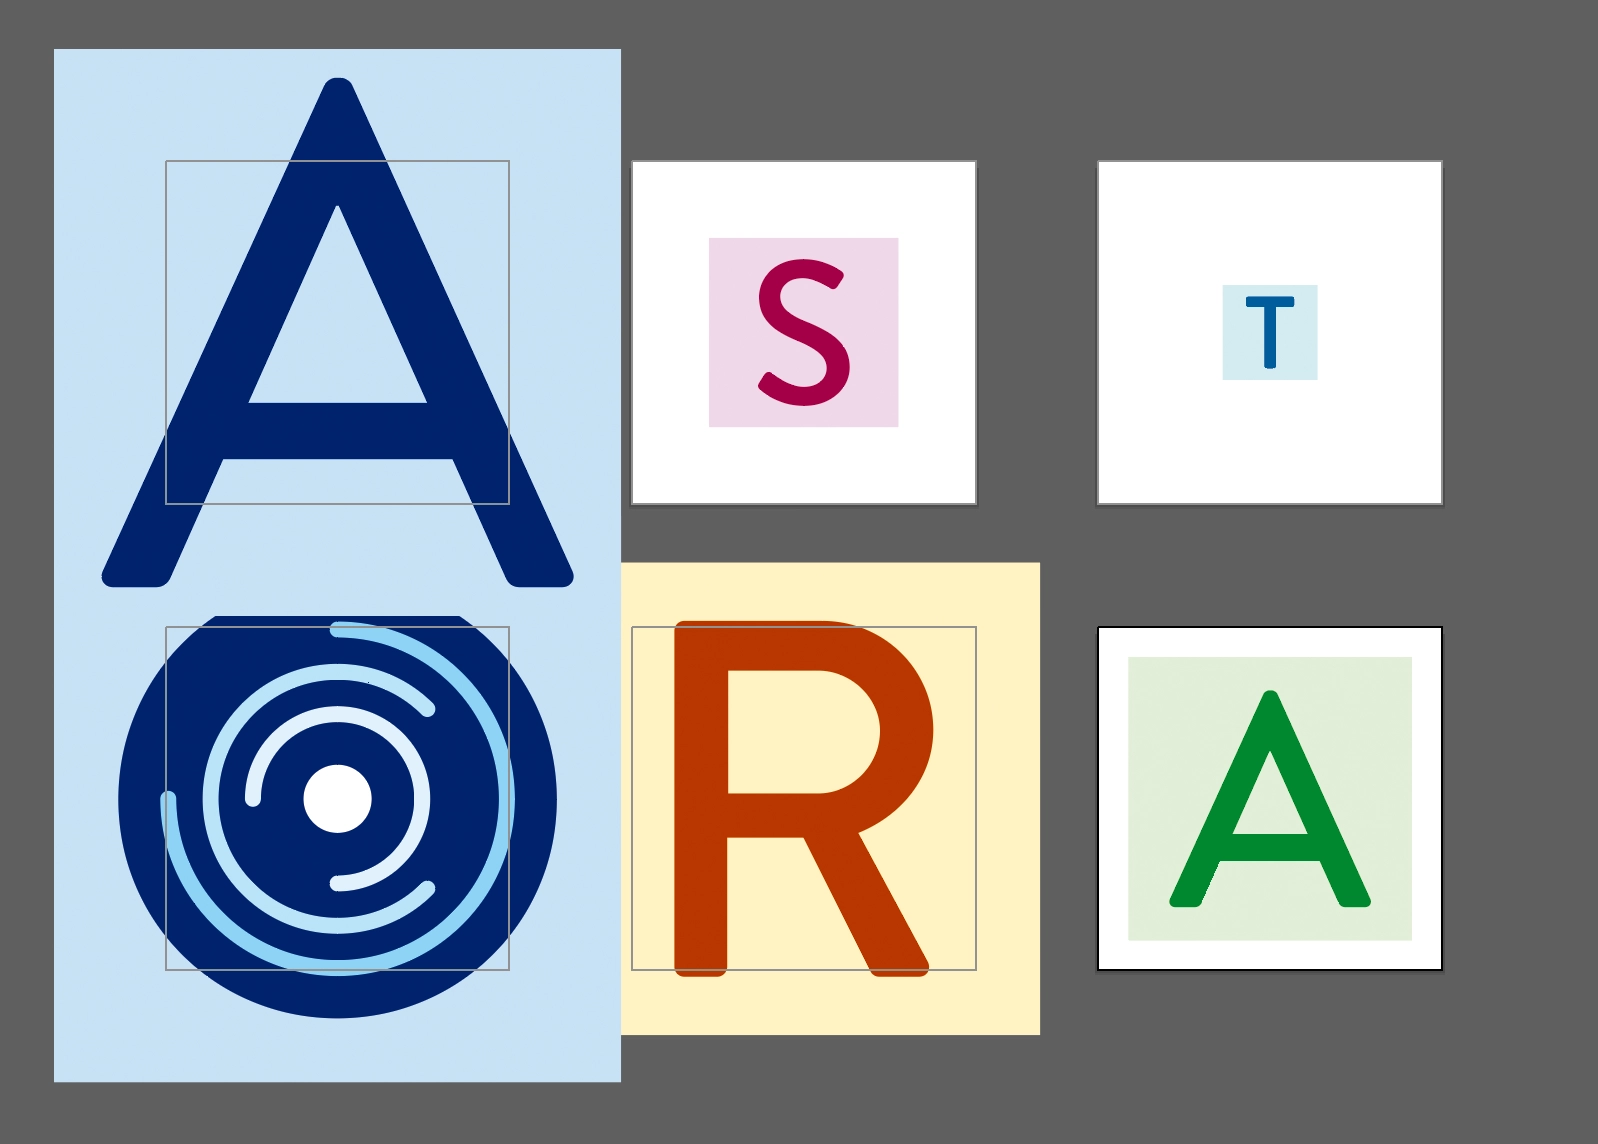
- Can I distribute objects to artboards again?
-
Yes, you can. Place the objects on the first row at the far left, then arrange them in order from the second row onwards. When you're done, distribute the artboards in the order they were created, left to right.
Recreate example
- Can I add one or more objects to the middle of an object that has already been distributed?
-
Yes, you can. First, follow the steps to redistribute and arrange the objects. Once that's done, place the object you want to add where you want to insert it, and then distribute the artboards in left-right order.
Padding
- Are there any restrictions on specifying paddings?
-
The total of the left, right or top paddings cannot exceed the total width or height.
- Can I specify negative paddings?
-
Cannot be specified. If a negative number is specified, it will become 0.
Others
- Is it possible to create a large number of icons at once
-
Yes, it is.Hiding or collapsing the Artboards panel will speed up the process.
- Locked objects are not distributed.
-
Please unlock the object first.
- Can I distribute only selected objects?
-
Yes, you can.
- Can I share placed or embedded images?
-
Yes, you can.
- How does Create base work?
-
Regardless of whether there are padding or not, the base is always created to the size of the entire artboard.